ABOUT THIS TRAINING
This training is an introduction and a practical ‘how to’ manual for all those who are interested in reclaiming ad spaces in their cities and neighbourhoods. The training was originally published by Brandalism and modified for NooWorld.
Note: This information is not legal advice and does not create an attorney-client relationship. Consult local activists and attorneys for more precise information relevant to your area.
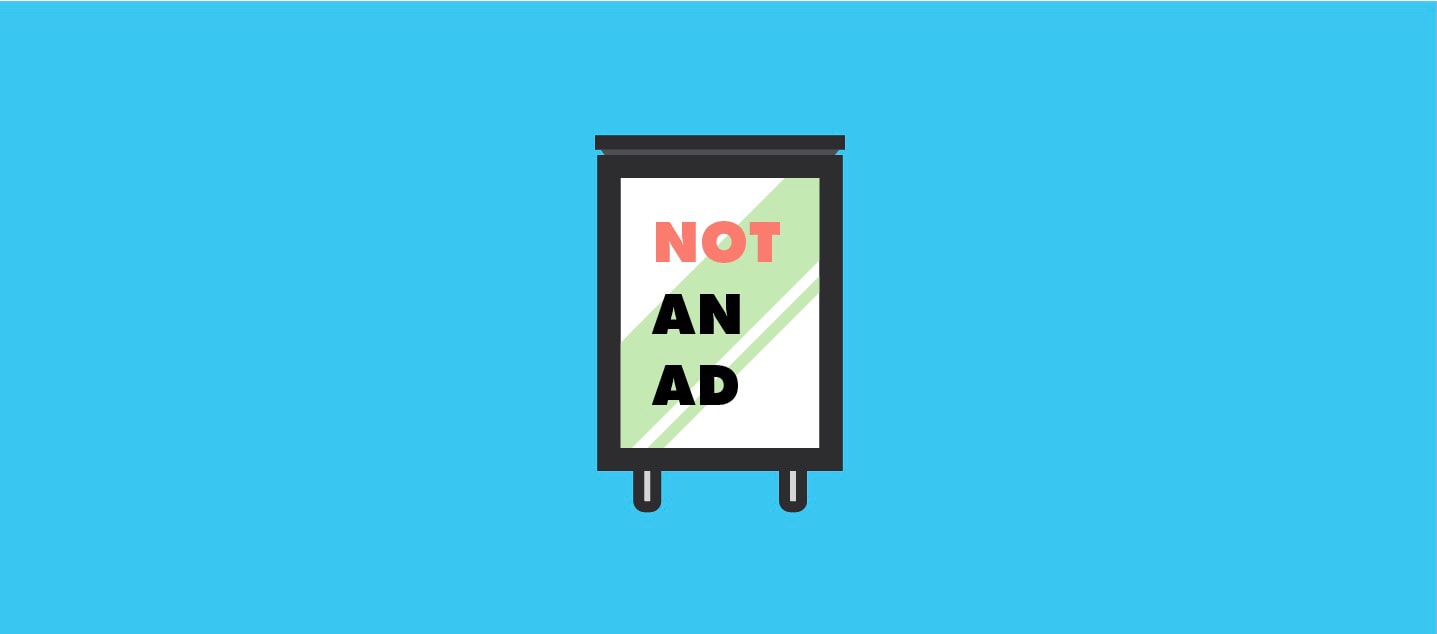
BUS STOP AD SPACES
In cities across the world, large multinational advertising corporations install and maintain bus stops to ensure that they can create permanent spaces to advertise to you. A bus stop poster ad is known as a ‘6 sheet’ in industry lingo. Within the UK, Europe and across the world there are 2 main types of ‘6 sheet’ ad spaces that take over public space in cities – we call them the ‘Bus Stop’ and the ‘Lollipop’. This guide shows you how to hack both of them.
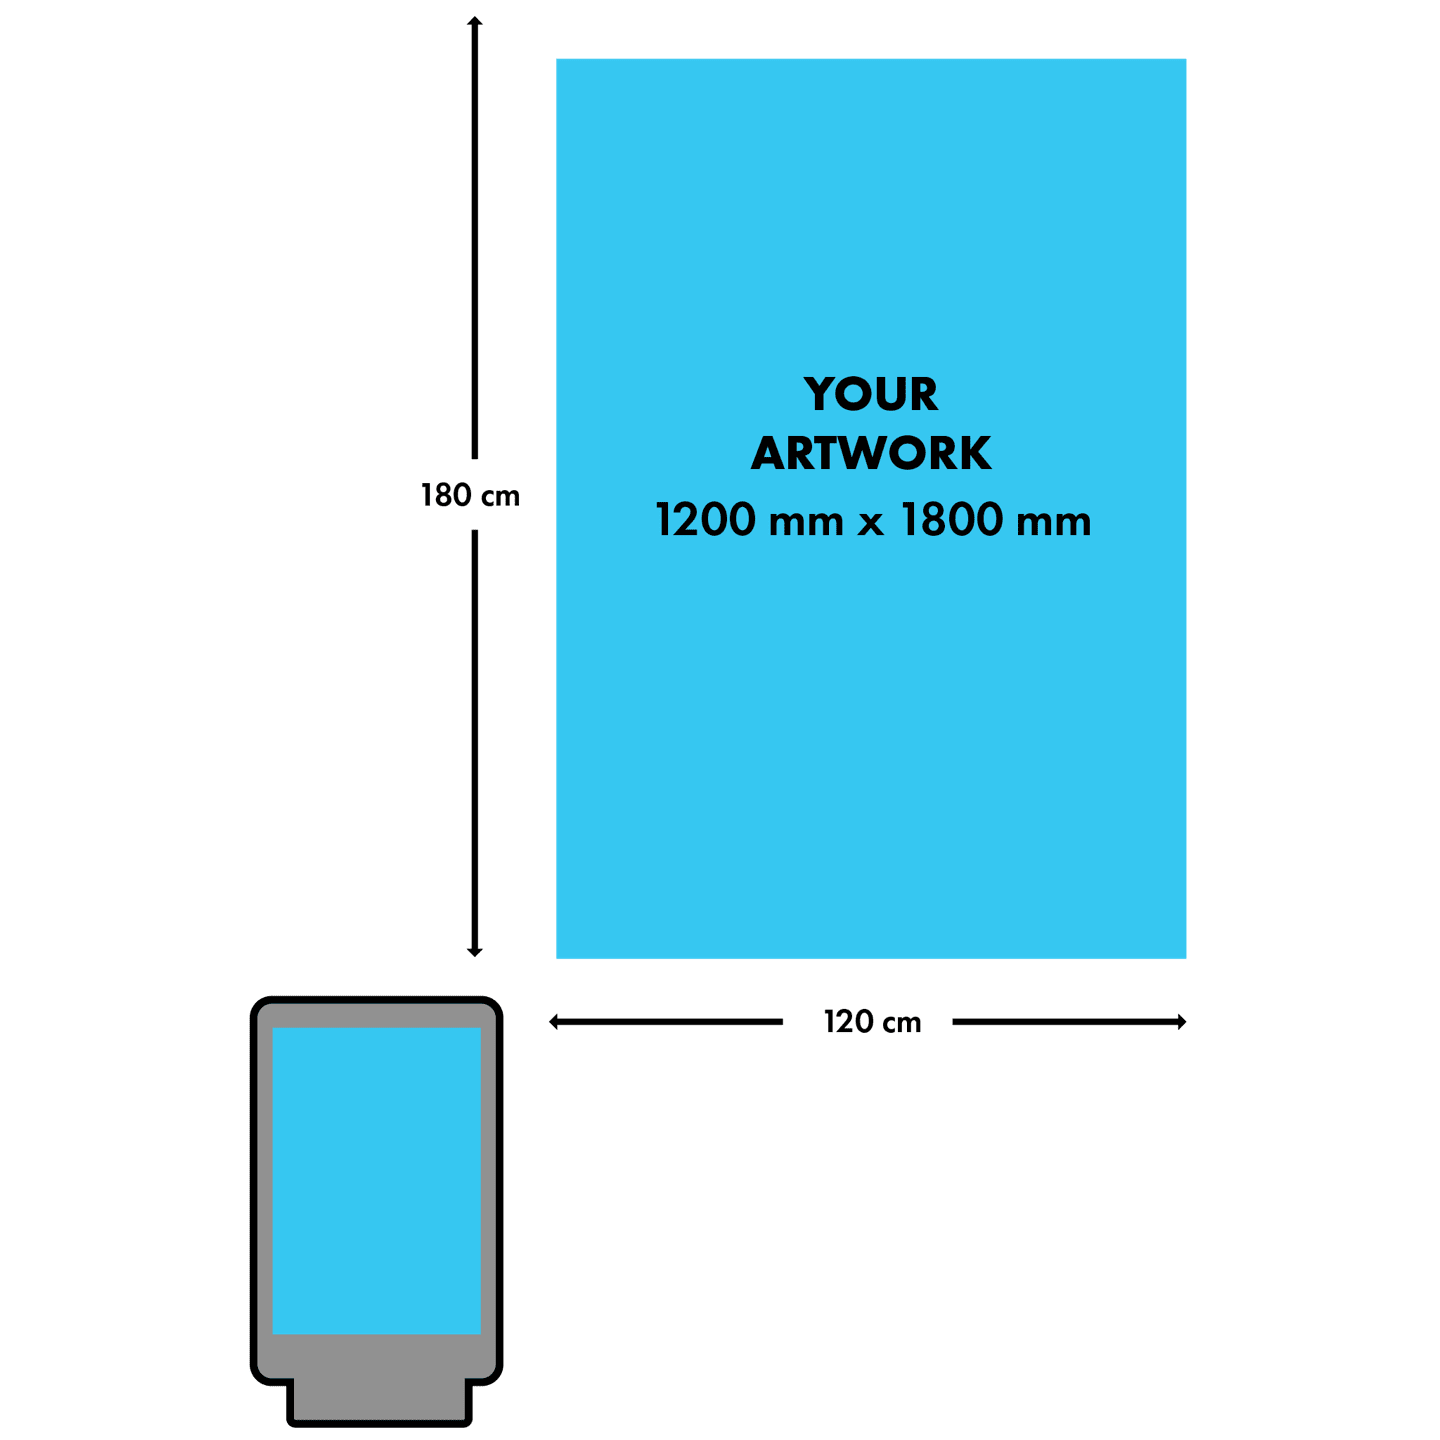
THE ‘LOLLIPOP’ ONE

These ad spaces are very common in large towns and cities in the UK, Europe, and many other cities around the world. They are double-sided too so they provide twice as much exposure for your art when you hack them. Win. The Lollipop can be a little taller than the other bus stop ad spaces at around 210cm - 240cm high. As a result, they sometimes require a small set of steps to reach the top of the advert when you open the frame with your key. If you don’t have a small set of steps, don’t worry, we’ll show you how to install your artwork easily with the slideshow below.
THE BUS STOP ONE
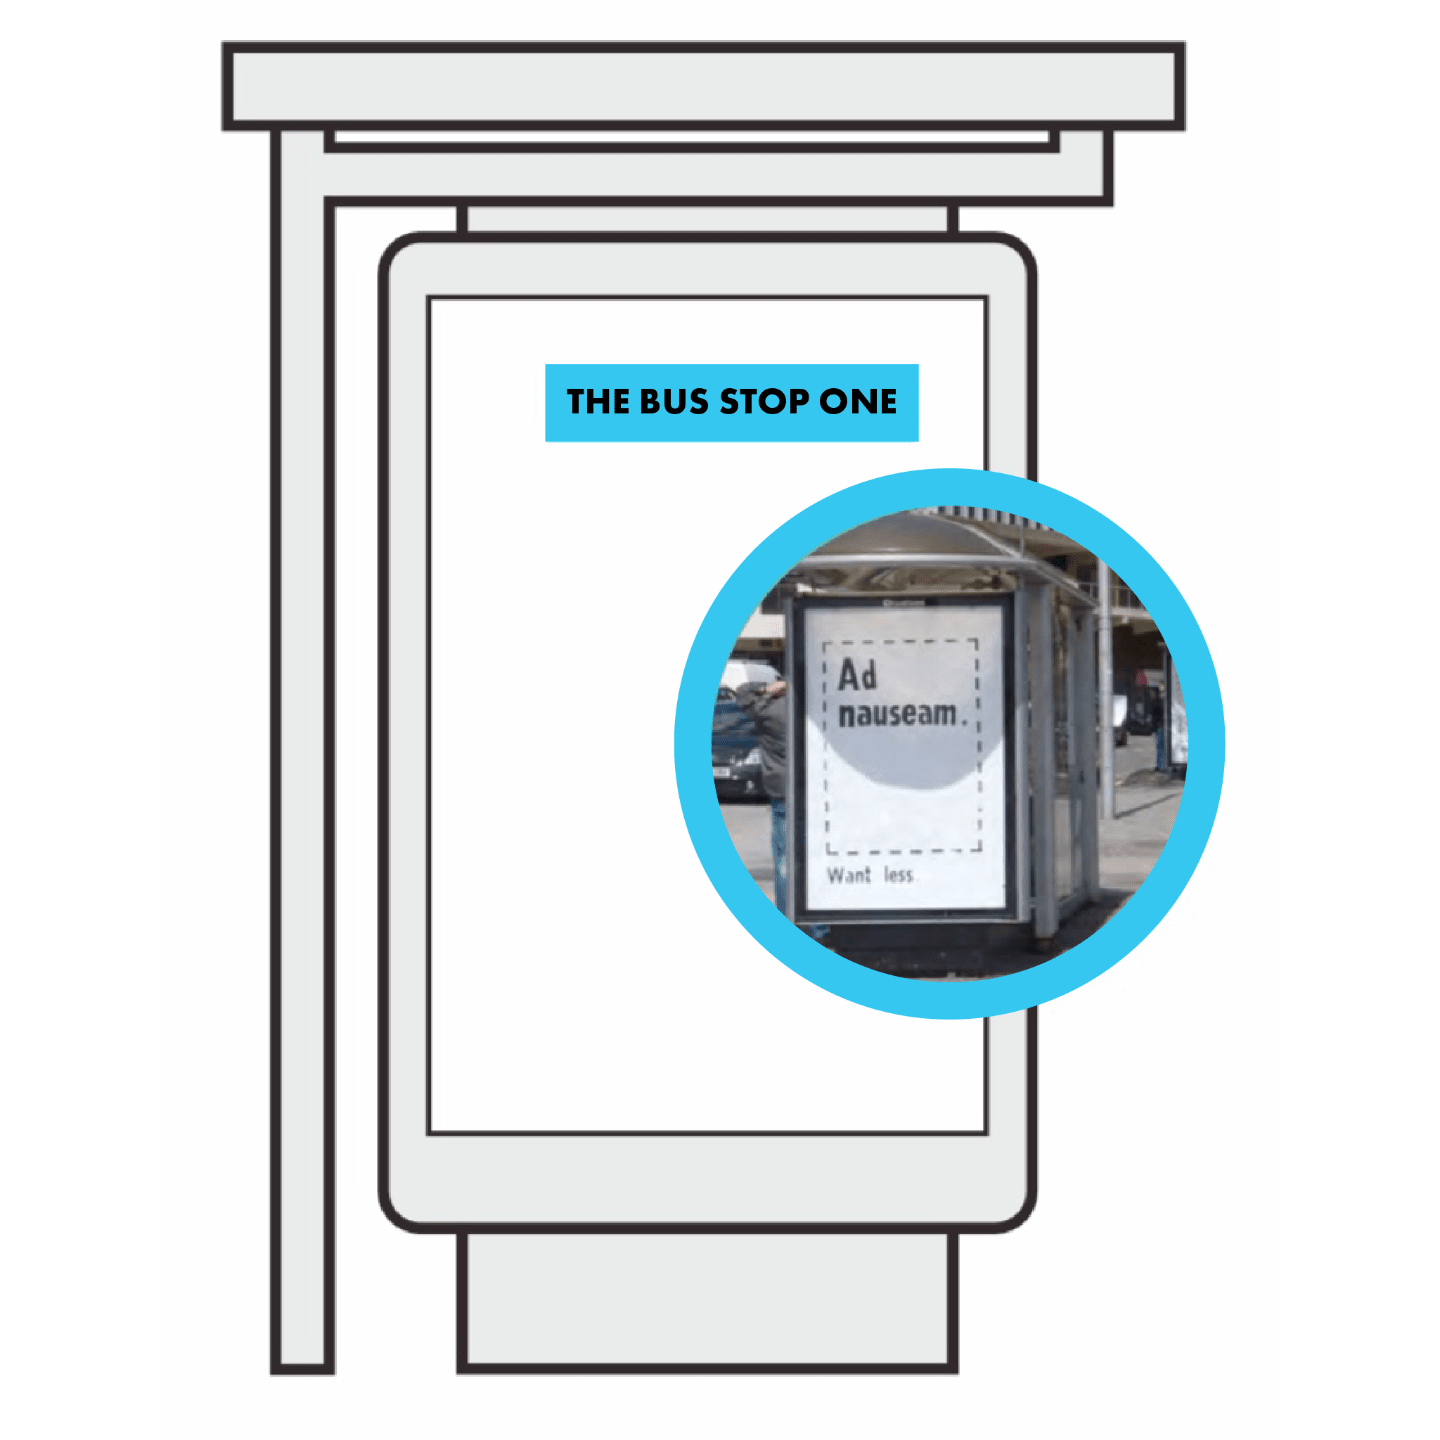
There are thousands of bus stop ad spaces to choose from when considering where to install your artworks in the city. The newer models open with only one key; however, some older spaces require two keys and the following guide shows you all the things you need to know in order to open these easily and install your artworks.
THINGS TO THINK ABOUT
- Do your research and check if you need to bring some steps or a small crate to stand on when installing your artwork. The last thing you want is to start sweating when you realise that you can’t reach the top and you will have to bail on the installation! Not cool.
- After a while, you will realise that some of the older bus stops have pretty bad locks. They can get worn down as they are opened every 2-4 weeks over many years. Don’t worry if the lock is bad and you can’t open it. Just move on to the next one, there are thousands to play with.
- The best thing to do is to put a high vis jacket on and test the keys in daylight. Nobody cares, and that way you can learn how they open and be more efficient when you return with your artwork to install.
OPERATING IN PUBLIC SPACE
TIME OF DAY
Go out in the daytime. At first it will feel exposed, and you will be nervous, but after the first opening of a cabinet or the first installation of artwork alongside a rush of adrenalin, you will realise that:
- Nobody cares. If you look like you should be there and your behaviour is what people (including the cops) expect to see at that time around that ad space, then you will be fine. This is why a hi-vis is so important, as it gives you legitimacy. Use it. We would also recommend taking a look around when you have opened the space, look at the public, see how little they care. Relax into it and have fun.
- It is easy. These spaces are designed so that a worker can change over hundreds of these adverts in one morning. They are designed to be opened and installed quickly and efficiently. After a few, you will get the hang of it. If the lock is bad, move on and try another!
- If you have a hi-vis on, bus drivers won’t bother you. This is important. We have installed some bait artworks in the past, and we were sure that a bus driver would notice and challenge us. But this never happened, because we looked and acted like we were supposed to be there. Although you will feel exposed and a little vulnerable when you are installing for the first time, just remember that everyone around you is more concerned about where they are going and a million other concerns. So hold your space and stay cool.
CHOOSING A SPACE
High Visibility
Most advertising spaces on the street are installed in places that reach a high volume of footfall from the public. Perfect! Now lots of people in the city will see your artwork - the hard work has been done for you. No more perching on ledges on abandoned buildings trying to get that graffiti piece up before the cops see you. You can just roll up in the daytime and stick your artwork in a place that is designed to reach the maximum amount of people. They are also illuminated as well so they look great at night.
Site Specific
Perhaps your artwork is about a certain issue, or you like the architecture of a certain street in the city and your artwork is designed to interact with the space around it. Perhaps your artwork is targeting a certain corporation’s disastrous environmental record, or maybe you just want to share a message near a famous landmark. If so, a site-specific installation could be a good shout - from our experience photos of site-specific installations really make a huge impact.
WHEN TO INSTALL YOUR ARTWORK
Advertisements in public space are changed every 2 or 4 weeks depending on how long a corporation has bought the advertising space. It is amazing what information is available online and it just so happens that the major outdoor advertising companies have calendars on their websites that tell everyone the dates for when they change over the adverts in public space. Handy.
The change-over dates vary from company to company but they are essentially in 2 or 4-week blocks. Search for ‘cycle calendar’ or ‘posting calendar’ on the websites for the corporation that owns the ad space you want to hack. They are often in the ‘How To Book’ section of the website. It is really important to know about the changeover dates for two main reasons. The first is down to the fact that the only person on the street who may be remotely interested in what you are doing with ad spaces is a worker for the company that manages the ad space in which you are installing your artwork. So the best way to avoid this situation is by going out a day or two after the company has changed adverts in the city. That way you not only massively reduce the risk of any interaction with a worker, but you also get the most days of exposure for your artwork. Double win. Now if you do interact with an employee of the outdoor advertising company, it doesn’t necessarily mean it has to be a negative thing.
WHAT TO WEAR
Here is a list of suggestions for do’s and don’ts when you are thinking about what uniform/ fancy dress to wear when you go out for a healthy bit of subvertising.
DO:
- Look like an employee of an outdoor ad company. They typically wear dark coloured practical trousers (dark blue or black) with a dark coloured jacket or fleece
- Wear some sturdy shoes/boots
- Wear a hat or beanie. This helps you feel more protected in a weird way
- Wear a hi-vis jacket, ideally with a company logo printed on the back
- Wear gloves if you can. Some thin black builders gloves are a good idea. Not mittens
- Put your hi-vis on when you approach an ad space until you feel really comfortable keeping it on all the time
DON'T:
- Wear clothing that you would not associate with the job of an outdoor advertising worker
UNIFORM
Creating your own hi-vis
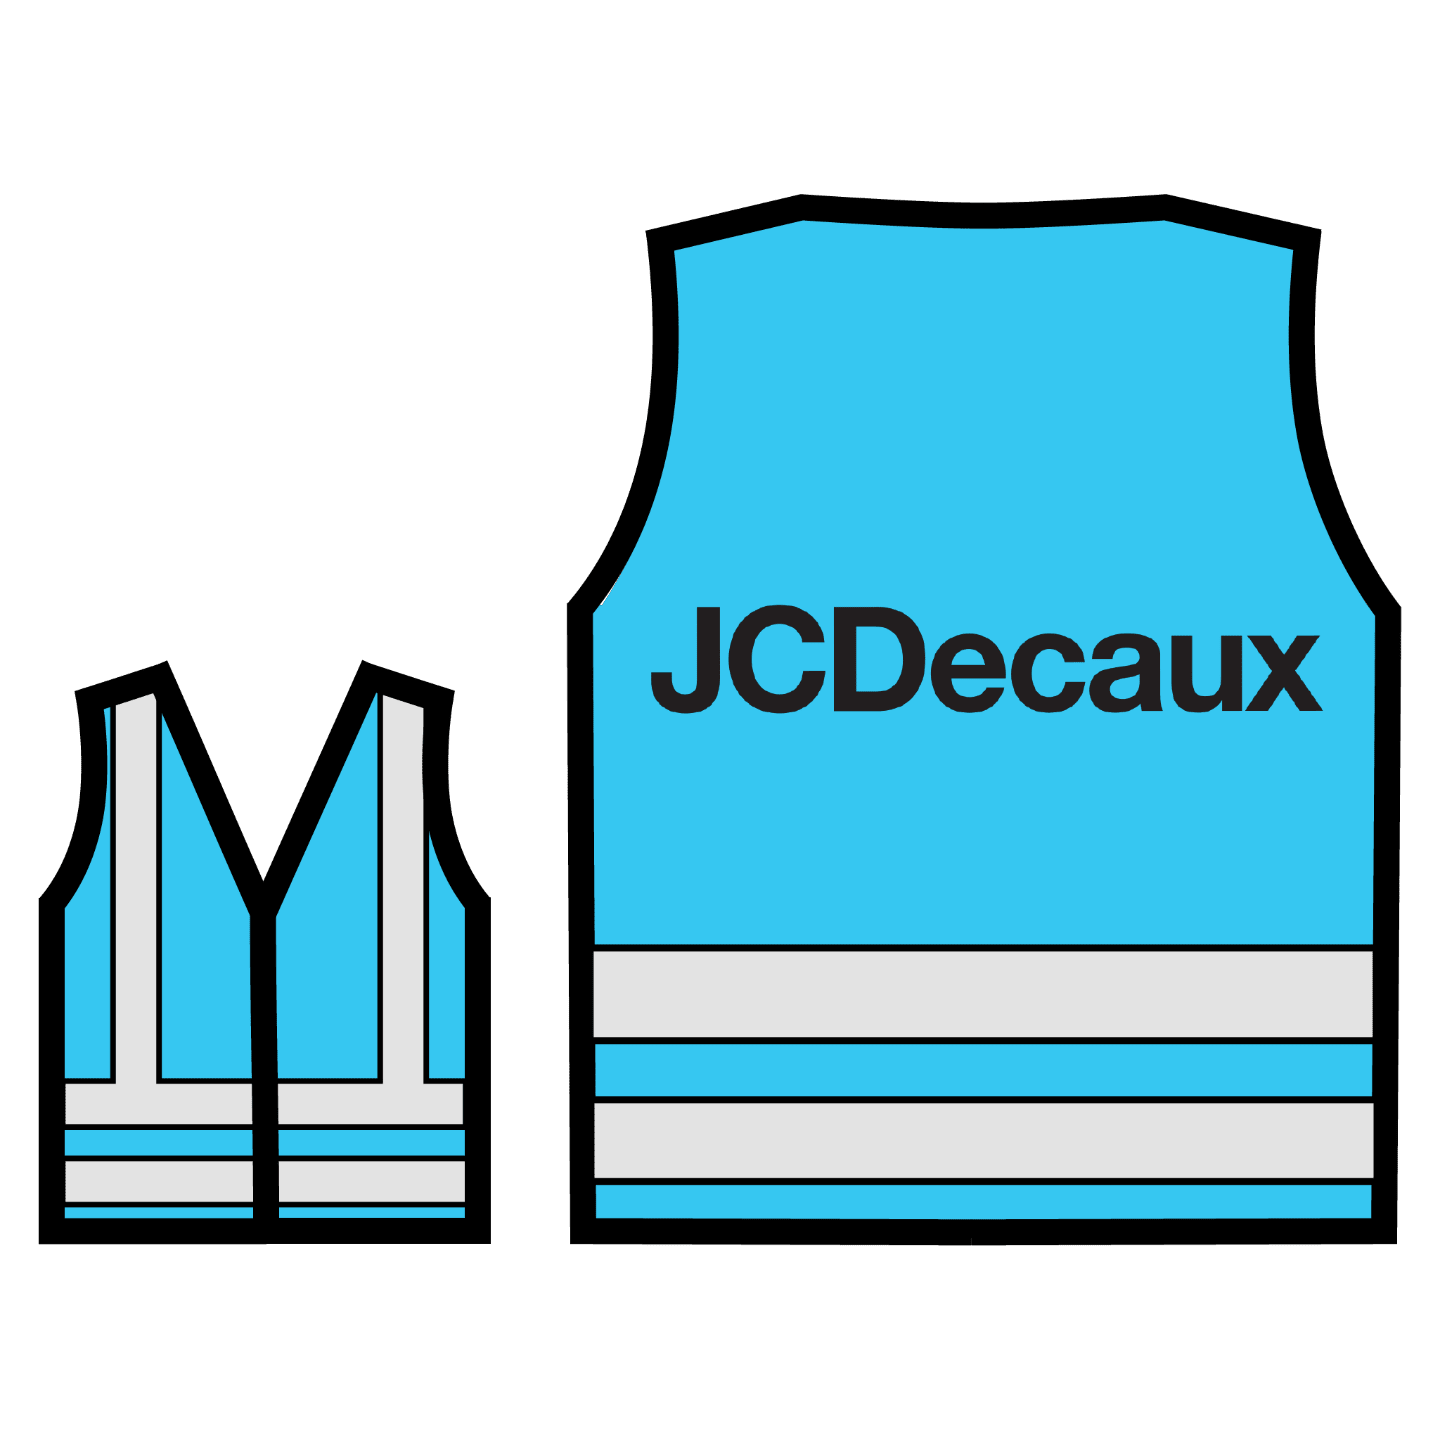
Below are several methods that can be used to create a branded hi-vis uniform to help you with your installations.
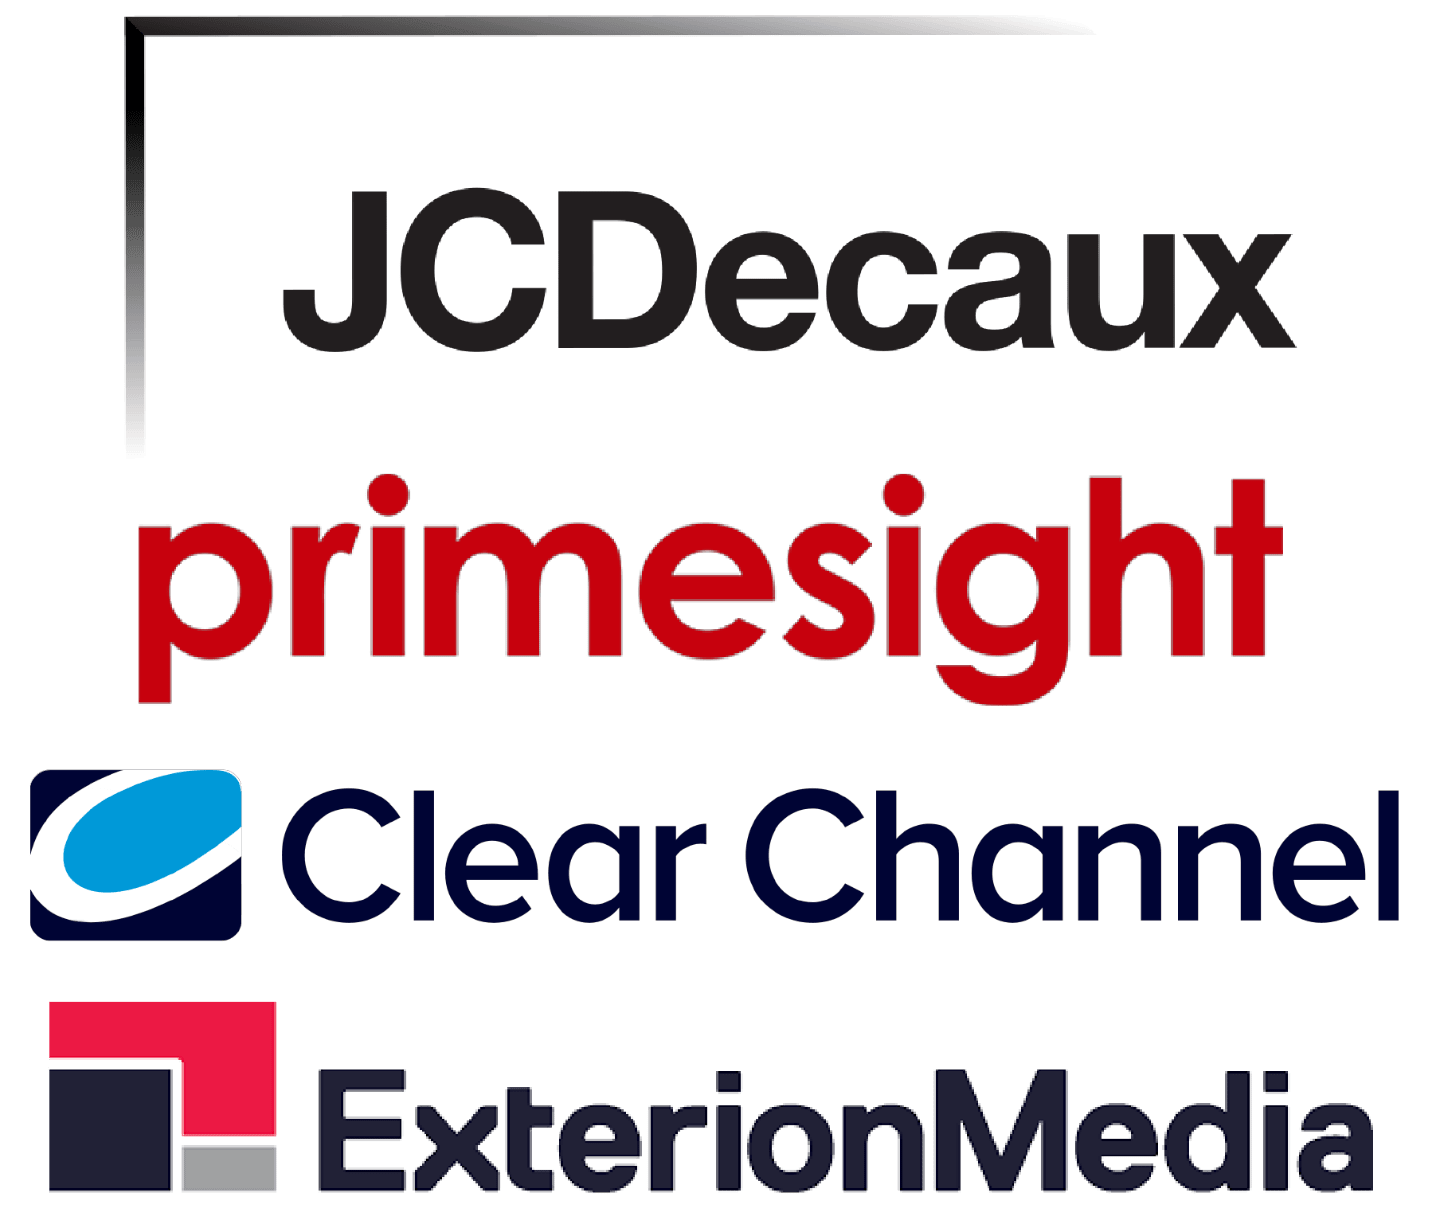
LOGOS FOR THE BIG 4
OPTION 1: IRON ON TRANSFERS
This option is the quickest and most accessible; however, the final results are not of the highest quality. If you wanted to do a quick install and a hi-vis that you would then never use again, this could be the option for you. Most large supermarkets and art shops have A4 printable sheets that are iron-on transfers. You can get a pack of 10 for £1 - £3.
Equipment you will need:
- A4 iron on transfer paper
- Inkjet printer and computer
- Iron.
- 10-15 minutes
OPTION 2: STENCIL LOGOS
Stencilling the logos can be a cost-effective way of creating branded hi-vis for your installs. You need to be careful to keep the quality of the finish high. We recommend using spray mount glue to temporarily fix the bottom of the stencil onto the hi-vis jacket prior to spraying as it ensures the edges look tidy and there is no bleed-through from the paint.
When stencilling onto hi-vis jackets, build up the layers of paint slowly as the synthetic fabric doesn’t give a solid fill colour to start with. Take your time.
Equipment you will need:
- Black spray paint (we recommend ’94 or Belton paint)
- Thick card Stencil card
- Scalpel (very sharp)
- Spray mount glue.
- 1 hour
OPTION 3: SCREEN PRINTING
This is by far the best process for high-quality results, especially if you want to produce a lot of uniforms. The process varies depending on the type of setup but there are many cool people that have screen printing gear that could be up for helping you. It is a technical process that needs experience to get it right.
If you go to a commercial screen printer that you don’t know for the printing, say the hi-vis is for a theatre production or something similar to avoid suspicion.
Equipment you will need:
- Access to silkscreen printing equipment
- Printed acetate with the logo on
- Black screen printing ink
- 0.5 to 1 hour
KEYS
There are several types of ‘6 sheet’ ad cabinets that require a key to open. Most of these keys are available to buy from any hardware retailer online, a decent-sized hardware shop, or in some cases bicycle shops. The 4 types of keys featured in this section are the most common; however, there are many more that you can add to your collection.
ARTWORK
Now that you have discovered your spot, got your uniform printed, and opened some of the spaces to test your keys, it is time to get some bad-ass artwork created for installation in public space. Below are some examples of how you can create your artwork ranging from low-cost to higher-cost options. These are by no means exhaustive or the only options: you are creative so have fun and play with the space.
OPTION 1 HAND DRAWN/ PAINTED
Take existing adverts out and rework them or paint on the reverse. Alternatively, remove the existing advert and tag up the light box behind it.
OPTION 2 SCREEN PRINTED
Though very hard to print at the full size, this is a striking technique, even if you print smaller images in the centre of a 6-sheet. You may need some help from skilled printers or get access to a print studio. We recommend researching the screenprint process and looking for local options.
OPTION 3 DIGITALLY PRINTED
Shop around for local print companies that do large format printing. The price will vary widely. Printing in black and white is much cheaper.
DOCUMENTING THE INSTALL
So when you are ready to install your artwork, it is important to remember that we live in the age of digital networks and social media is where the most people will see your installs. So good quality photographs are crucial and can be taken on most smartphones.
Some tips for photographing your installations:
- Hi-resolution images are perfect. Preferably in colour. The framing of the poster inside the ad space is important.
- You should work out when you will take the photographs (e.g will you do the installs and go back later to photograph without your gear).
- If your artwork has small text, get a close up shot so that it is possible to read any words and text in the poster.
- If possible, it is good to take photographs of members of the public interacting with the artwork.
- If the poster installation is ‘site-specific’, capture the background site.
- ‘Action shots’ of installations are always good. Try not to capture faces if possible - or blur the faces before sharing them online.
- Security: Be aware that if you are carrying photographs of people installing the posters, these could (potentially) be seized and used as evidence by the police. We suggest you carry multiple SD cards and store the SD cards in a safe place.
- If you have time, take both daytime nighttime photographs of all the posters. They look sick at night!
OTHER BASIC TIPS
Photos
Please advise your photographers that they should be wary of what photos they take and carry on them and not include people’s faces. Photos should be deleted or stored securely afterward.
Text messages
Be wary of what you communicate by SMS text message and don’t include anything incriminating: e.g “I changed this bus stop ad on the High Street.”
Emails
Similarly, be wary of what you write in emails to each other before or afterward.
To receive your badge for this training, make sure you leave a reaction above!
Do you have a training or a good idea for one? We'd love to hear from you. Please contact us at trainings@noo.world.